Download
1 / 9
100 likes | 790 Views
Gram Staining. Microbiology 2006. How to Make a Smear. 1. Label the frosted side of your slide with your initials, the name of the organism, and the date. On this side draw a circle in the clear section of the slide. 2. Turn the slide over. You will make your smear on this side.

E N D
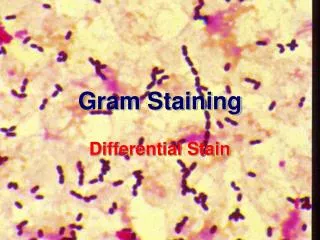
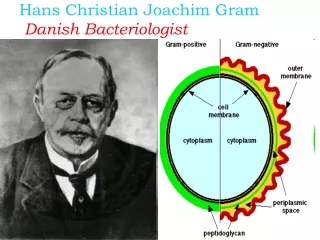
Gram Staining Microbiology 2006
How to Make a Smear • 1. Label the frosted side of your slide with your initials, the name of the organism, and the date. On this side draw a circle in the clear section of the slide. • 2. Turn the slide over. You will make your smear on this side. *****If you are using broth follow these directions • Flame your inoculating loop. • Use aseptic technique and remove the top of the culture tube, flame the mouth or the culture tube, and dip the loop into the broth. Make sure that the loop is filled. • Transfer the loopful of broth and bacteria to the slide. Using a circular motion, spread the broth on the slide. • This is now a " smear" • Allow the smear to dry • When the smear has been allowed to " air dry" , pass the smear through the flame to " heat fix" - Heat fixation causes the proteins and cell parts to coagulate and stick to the slide. • Let the slide cool.
How to Make a Smear • *****If you are using colonies from a plate( Petri Dish) • Place a drop of water on the slide. • Using aseptic technique, " pick" a colony from the Plate that you want to Gram Stain. • Using a circular motion spread move the inoculating loop in a circular motion in the drop of water. Start in the center of the drop and move in a circular motion to the outside of the drop. The objective is to have fewer cells on the outside of the circle. • Follow the directions from above • Don't forget to " air dry" and to " heat fix" before staining
The Gram Stain • Gram Stain- See Gram Stain Directions on separate page. Please refer to pages 71-73 in your laboratory manual. • All staining work is to be done at the sink • Care should be taken to work directly over the sink • Place drop(s) of crystal violet stain on the smear ( 1 minute) • Rock or roll the slide to cover the area • Use the water bottle to drip water down the slide • Place drop(s) of iodine on the slide ( 1 minute) • Place drops of alcohol on the slide 10 seconds ( KEY – do not leave on longer than 10 seconds or it will decolorize) • Place drop(s) of saffranin on the slide for 1 minute • Rinse with water from the bottle • Let the slide air dry
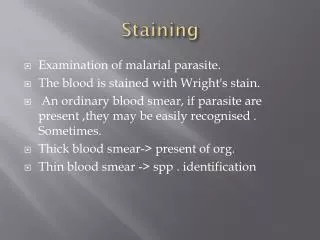
Simple Stain • Simple Stains- Crystal violet and methylene blue • 1. Place a drop(s) of stain over the smear. Make sure it covers the entire area of the smear. Leave the stain on the smear for one minute. Rinse with water from the bottle. • 2. Refer to page 64 for cellular morphology.
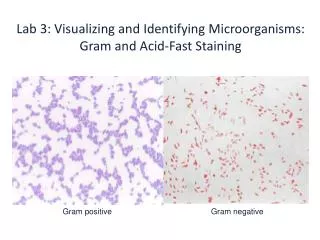
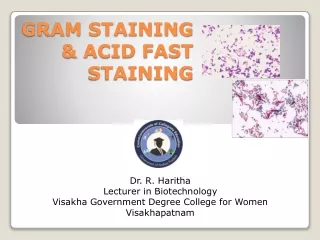
Typical Gram Stain http://www.uphs.upenn.edu/bugdrug/antibiotic_manual/Gram3.htm http://www.uphs.upenn.edu/bugdrug/antibiotic_manual/Gramstains/small/tocframeset1.htm