Download
1 / 23
510 likes | 1.43k Views
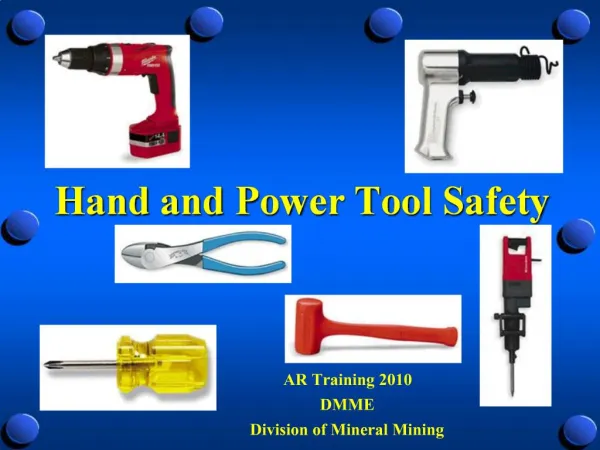
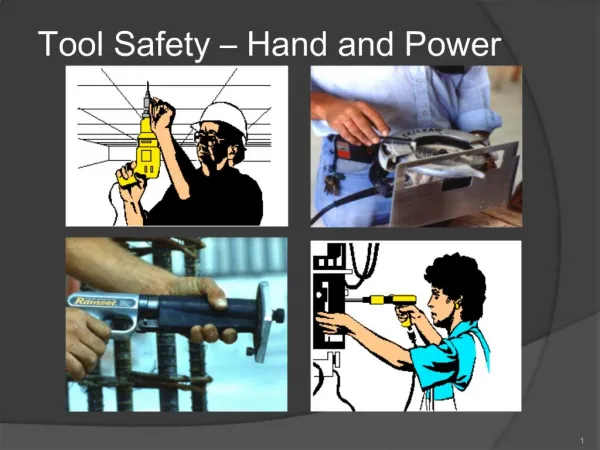
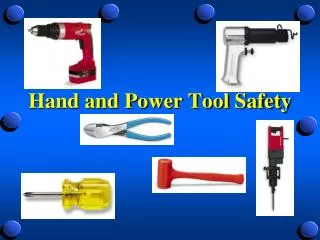
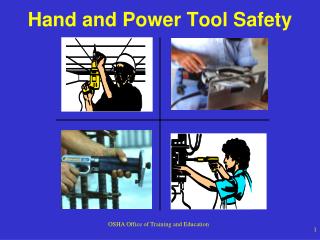
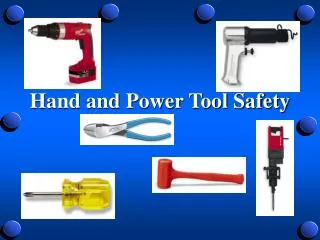
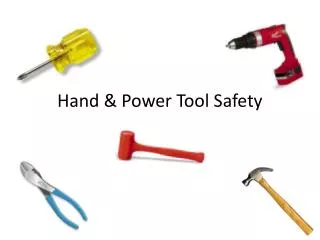
Hand & Power Tool Safety. Hand Tools vs. Power Tools. Hand tools Have no power source, other than the physical force applied by the user. Ex: Hand-tools include anything from axes to hammers, and screwdrivers to wrenches. Power Tools Require a non-human power source to function properly.

E N D
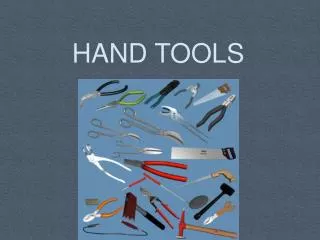
Hand Tools vs. Power Tools Hand tools Have no power source, other than the physical force applied by the user. Ex: Hand-tools include anything from axes to hammers, and screwdrivers to wrenches. Power Tools Require a non-human power source to function properly. Ex: External (electricity, compressed air, etc.) or Internal (battery pack, internal combustion engine, etc.).
General Safety • Both kinds of tools require specific safety precautions or rules that must be followed. • Some rules may apply to both power and hand tools.
General Safety Rules • Use eye-protection when work is being done in the lab. • Remove/secure loose clothing, long hair and jewelry. • Wear proper closed-toed shoes. No sandals. • Carry sharp/pointed tools facing downward and away from others. • Stay out of safety zone, unless you are operating a machine. • Ask and receive permission before using any equipment. • Report any/all unsafe conditions to teacher immediately.
Tool Safety • Use the tool only for what it is designed to do. • Examine the tool for damage before each use. • Do not misuse any tools or machine. • If you are unsure, ask for help!
Hand Tool Misuse • The greatest hazards posed by hand tools result from misuse. • Examples: • Using a screwdriver as a chisel may cause the tip of the screwdriver to break and fly, hitting yourself or others. • If a wooden handle on a tool such as a hammer is loose, splintered, or cracked, the head of the tool may fly off and strike yourself or others. • Wrenches must not be used if the jaws are sprung, cracked or twisted.
Hammer Time! • Use a claw hammer for pulling nails. • Do not strike a metal surface with a hammer. • Do not strike one hammer against another hammer. • Do not use a hammer as a wedge or pry-bar.
Don’t Screw Around! • Always ensure the screwdriver fits the head of the screw. • Do not hold the work piece against your body while using the screwdriver. • Do not use a screwdriver as a punch, chisel, pry bar or “nail puller”. • Do not use a screwdriver to make a starting hole for screws.
Get Chiseled! • The greatest hazards posed by hand tools result from misuse and improper maintenance. • Use only chisels that are sharp. • Do not use chisels with a mushroomed head. • Use only hammers that are designed for use with chisels.
Cut It Out! • Do not carry the saw by the blade. • Do not use any saw that has a dull blade. • Keep control of the saw by releasing downward pressure at the end of each stroke.
Under Pressure! • Tighten vice by turning the handle clockwise until stock is held firmly. • Loosen vice by turning handle counter clockwise one turn, and pulling by hand. • Do not put unauthorized materials (ex: pens, body parts, markers, etc) in vice.
Classroom Power Tools • Offer more power, adaptability, and dependability than ever before. • With enhanced tool performance comes the responsibility to address power-tool safety issues.
Hazards of Power Tools • All hazards involved in the use of power tools can be prevented by following five basic safety rules: • Keep all tools in good condition with regular maintenance. • Use the right tool for the job. • Examine each tool for damage before use. • Operate according to the teacher’s instructions. • Use the proper protective equipment. ex: safety glasses, hair ties, etc.
General Power Tool Guidelines • Power tools can be hazardous when improperly used. • Students will be trained in the use of all tools - not just power tools. • You should understand the potential hazards as well as the safety precautions to prevent those hazards from occurring.
General Power Tool Guidelines • Never carry a tool by the cord. • Never yank the cord or the hose to disconnect it from the receptacle. • Keep cords away from saw blades, cutters, and other sharp edges. • Disconnect tools when not in use, when changing accessories (ex: blades, bits and cutters), and if anything goes wrong.
General Power Tool Guidelines • All observers should abide by the safety zones. • Secure work with clamps or a vise, freeing both hands to operate the tool. • Be sure to keep good footing and maintain good balance. • The proper apparel should be worn. Loose clothing, ties, or jewelry can become caught in moving parts.
Drill Press • Tighten the bit securely in the chuck. • Be sure to remove the chuck key before starting the drill. • Secure all work pieces with clamps or a vise, freeing both hands to operate the tool. • Check and set the depth stop before every use. • Keeps hands 3 inches away from all moving parts.
Drill Press • Always have scrap material under your work piece. • Feed the bit slowly into the material, never force the bit through. • Power must be shut off and the chuck must come to a stop before leaving the machine. • When the hole is almost complete, ease up on the downward pressure.
Disc and Belt Sander • Only one student may use each sander at a time. • Piece must be in contact with the table when sanding. • Keep fingers away from the sanding surface. • Sand on the downward motion side of the disc sander. • All pieces being sanded must be at least 2”x2”.
Band Saw • Keep fingers at least 2 inches away from the blade (on each side). • Do not allow hands to be aligned with the saw line when operating the band saw. Always keep them to the left and right. • When the cut is almost complete, ease up on the forward pressure.
Band Saw • Use relief cuts when making tight radius cuts. • If the blade breaks, keep clear of the blade, shut off the power, pull the power cord, and notify the teacher. Notice the alternating direction of the blades “teeth”
Band Saw Safety • When backing out of a cut, re-trace your line. If it is a long cut, be sure to shut down the machine. • Always use a scrap piece of material, or a push stick, to clear pieces away from the blade. NEVER use your hand.
Problems! • Accidents happen… In the rare case that anything does happen in the lab, be sure to: • Shut down the power in the lab. • Notify the teacher.