Download
1 / 55
550 likes | 656 Views
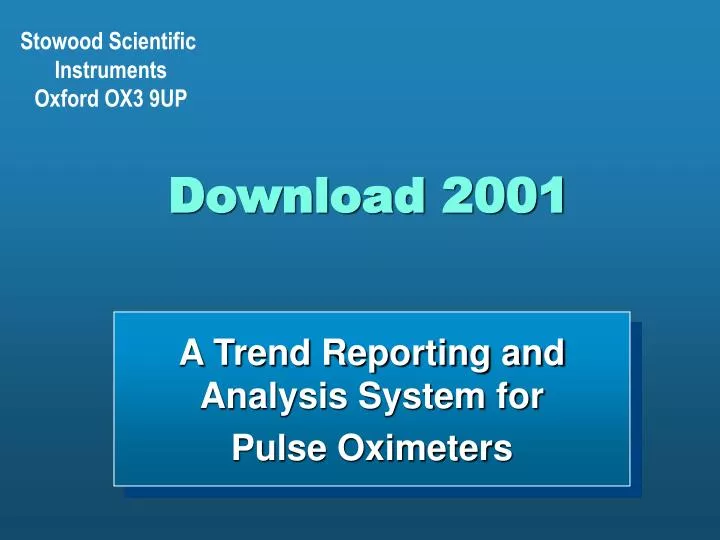
Stowood Scientific Instruments Oxford OX3 9UP. Download 2001. A Trend Reporting and Analysis System for Pulse Oximeters. Download 2001 Chart Display. Overview. Download 2001 is a software package which runs on Windows (95/ 98/ 2000/ NT/ XP)

E N D
Stowood Scientific Instruments Oxford OX3 9UP Download 2001 A Trend Reporting and Analysis System for Pulse Oximeters
Overview • Download 2001 is a software package which runs on Windows (95/ 98/ 2000/ NT/ XP) • Interfaces computers to a number of different oximeters • This presentation describes the main features & applications and is intended for the respiratory or sleep technician/ clinician
Features & Benefits • Many oximeters store data internally and this trend data is accessible to computers • Download 2001 allows you to move thisrecorded data from the oximeters to your computer to Viewand Analyseit • This is extremely useful both clinically and for research purposes
Dl2001 with Oximeter • The computer serial port (or USB port via a serial port adapter +) is connected to the oximeter output connector P1 + Contact SSI • The handheld oximeter is in its docking station*, both turned on with the ASCII 2 output mode set * RDS 1, 1B, 3 or 3B • The oximeter and computer are powered up and the Dl2001 programme run on the computer in Windows
Oximeter Link A mouse click on the oximeter icon on the menu bar creates the link with the oximeter
If you choose: - ‘Automatically download largest recording’ and - ‘Auto print report after downloading’sit back and wait for the report to be printed!* tick the boxes Simple Method
Otherwise…. (1) View the data - checking the quality as it comes in to the computer
Choose required recording from oximeter recordings Assign the patient name and details to it The data screen (‘chart’) will then open Otherwise…. (2)
First Data Screen • This screen shows 10 minutes of the recording • Two SpO2 low alarm violated vents are shown in red as well as the actual alarm limit (90)
Downloading Data to Computer: Preparing for Next Patient • Oximeters typically store 24 hours or even up to 72 hours (several nights of data) of data • The software can handle this amount of data, but it is quicker to clear the oximeters memory after downloading to the computer • It is then ready for the next recording
Controls and Data Manipulation • View the full study by clicking on an icon, or see a different time period on screen with the I (interval) icon • Step (Page) through the data • Pan through the data page by page (adjust the speed with View | Page | Pan Rate) • View numerical values by moving the cursor on the trace
Full Study or Interval? Full Study Icon Interval Icon Select study range for chart screen: - ‘Full Study’ or - ‘Interval’
Zoom Zoom In Icon Zoom Region Icon Get more detail with: - ‘Zoom In (binary x2)’ or - ‘Zoom Region’
Marking a ‘Zoom region’ Right hand side numbers shown at vertical cursor: - SpO2 value of 77 - pulse rate value of 61
Fit To Scale (the trace) or change the Amplitude with the mouse right hand button menu | Amplitude control Move and change the amplitude using the cursors - singularly or together Amplitude Control RH Mouse Menu Here the axis is being reset to 70 - 100% Saturation
The Ruler allows you to control and see the time interval marked between the cursors in context of the recording (ie 3am - 4 am) Cursors can be moved singularly or in tandem by mouse - good for ‘nudging’ forward to see end of an event The ‘Interval Icon’ can also be used to change the interval in fixed steps Interval Control (The Ruler)
Choose Analyse | AnalysisReport Use Marked regions for exclusion/inclusion of chosen intervals The other options (Plot SpO2 etc) give single pages from the report Analyse the Recording
Summary Page Study & Patient Details: - Name - Address - Ht, Wt, Neck Size - Epworth, BMI etc Comments can be entered from the keyboard Analysis Report - Page 1
Results Overview Analysis Report - Page 2
Saturation Plot Plots: - 1 hr/ line - 8 hrs/ page The vertical axis is set in Analysis |Setup | Plot Options Analysis Report - Page 3
Saturation Analysis:- mean, median, mode - 5th/95th percentiles - Dip rates x3 levels (desauration events) - Delta index, RRI & RDI - minima,Time below xx% - frequency & cumulative distributions etc Analysis Report - Page 4
Saturation Analysis (extended): - mean nadir - Dip rates x6 levels - Average and Maximum event durations - Saturation minima, etc Analysis Report - Page 4
Pulse Rate Plot Plots: - 1 hr/ line - 8 hrs/ page Again, the vertical axis may be changed in Setup Analysis Report - Page 5
Pulse Rate Analysis: - mean, median, mode - standard deviation - pulse rate rises (PRR), PRR/hr - Minima & Maxima - frequency and cumulative plots etc. Analysis Report - Page 6
Saturation & Pulse Rate Plot Plots: - 1 hr/ line - 8 hrs/ page Dips, Pulse rate rises are marked Analysis Report - Page 7
Analysis Report - Page 8 All Channels 12 hr plot • 6 hrs/ line • Vertical axis may be changed in Setup
Analysis Report - Page 9 All Channels 24 hr plot • 12 hrs/ line • Vertical axis may be changed in Setup
Use Insert/ Edit events to edit/ move/ delete/ add existing events with the mouse Use Display/ Edit event definitions and Insert Event to add new events/ event types Editing & Adding New Events (1)
Editing & Adding New Events (2) • Can choose to exclude data associated to marked events • Defined events can be observed in the chart screen, and name of event by moving cursor over event
Search by surname/ ID Display recording date/ time/ duration Display patient summary (yellow box) Access/Search for Recordings
The context-sensitive HELP programme is accessed by buttons in each dialogue box (see next slide) The manual in Adobe Acrobat .pdf format and the Adobe Acrobat reader is included on the installation CD Email and telephone support is also available from Stowood directly Help
This shows the description of the Ruler in the HELP file. Help File Example
The 5 Montages are presettable configurations of axes, intervals, and presentations which can be accessed by a single icon Advanced Features: Montages
As longer data intervals are squeezed onto the display, it is essential to show them without losing utility For oximetry the best way is to show the minimum value, for Pulse rate it may be best to have the envelope Advanced Features:Display Method
Parts of single or both traces may be marked and labelled with the mouse or using a dialogue box The Markers may be visible or hidden Advanced Features: Markers
A grid in colours of your choice can be superimposed over the data (use View | Show Grid and Edit | Gridlines Colour) Advanced Features:Grid
Combine separate recordings made in series Export the data in text or Excel readable format Dump patient details/ results in text format Print Chart and report to standard Windows printers in B&W or colour Advanced Features:Combine, Export & Printing
Set your preferred dip definition (x3) and plot axes for the report Select to display extended SpO2 analysis page Advanced Features:SpO2 Analysis Setup
Set your preferred Pulse peak definition (x3) and plot axes for the report Advanced Features:Pulse Rate Analysis Setup
Set up the information to be contained in your preferred report Advanced Features: Report Analysis Setup
Importing ‘Actiwatch’ recordings (Cambridge Neurotechnology) as another trace Advanced Features: Import
Patient, study details and comments can be entered and exported Advanced Features:Details (1)
Enter referring practice details Advanced Features:Details (2)
16 configurable (with your labels) data entry fields can have data entered, stored and exported Advanced Features:Details (3)
Language Option • There is currently an English (Original) and French version • German and Spanish versions under development
Applications • Download 2001 is typically used in adult or paediatric overnight studies at home or in the ward • It is used to determine the range of oxygen saturations and pulse rate experienced by the patient. • It can also be used in many other situations, eg. with nCPAP to determine efficacy of treatment and also in research
Technical Information: 1 • Download 2001 runs on W 95/ 98/ NT/ 2000/ XP platforms with SVGA (800 x 600 and up) displays • Computers should have a serial port or USB-serial adapter • Connector cables are available from your Masimo supplier or Stowood
Technical Information: 2 • Installation on the computer is by: - Installshield from the CD or - floppy disks created from the CD • The method for desaturation dip detection is described in Stradling & Crosby BMJ 1990 300 75-8