Download

1 / 46
510 likes | 693 Views
Creating Your Own Reading Materials. Reading in English for Young Learners in Malaysia Session 8. THE little book. Made from a single sheet of paper No need for staples, glue, sticky tape Can be quickly and easily created by anyone Can be adapted into pop-up book

E N D
Creating Your Own Reading Materials Reading in English for Young Learners in Malaysia Session 8
THE little book • Made from a single sheet of paper • No need for staples, glue, sticky tape • Can be quickly and easily created by anyone • Can be adapted into pop-up book • Can be created on the computer in Word • Can be photocopied (one side of paper) • Sometimes called “hotdog book”, “origami book” “Poof! book” ...
The little book has front and back cover, and six pages.It can be made with A3 paper, or A4 paper.
You need: pens/pencils scissors A4 or A3 paper
Step 1: Fold the paper in half
Step 2: Fold the paper in half again
Step 3: Fold the paper in half a third time
Step 4: Unfold as far as the first fold Cut down to the fold mark from the fold edge
Step 5: Fold Cut section Unfold, and re-fold the other way
Hold the two ends ... ... and push them together.
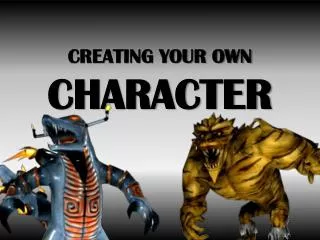
Basic Story Writing • Introduce your characters with descriptions of physical and personality traits, their surroundings, and those with whom they come in contact. • Create a problem/conflict. This could be between two people, an internal conflict, or one in which the main character overcomes an obstacle in the outside world. • Write the climax of the story, which will include the main character(s) coming face to face with the conflict. • Show how your character(s) resolves the problem, and what happens next.
Really little kids love books and stories, but they don’t really need a storyline (problem and solution), and they don’t want anything scary!
Preparing for Pop-Up Books Start simple: Making a Pop-Up Card
You need: pens/pencils scissors A4 or A3 paper
You need: pens/pencils scissors A4 or A3 paper
Step 1: Fold the paper in half
Step 2: Fold the paper in half again
Step 3: Fold the paper in half a third time
Step 4: Unfold as far as the first fold Cut down to the fold mark from the fold edge
Step 5: Fold Cut section Unfold, and re-fold the other way
Hold the two ends ... ... and push them together.
Folding for pop-ups: Unfold paper completely Fold edges in to the middle
Little cuts for pop-ups: Book Cover (no cuts) Box Nose Mouth or beak (duck) Mouth
Step 1: Fold the paper in half
Step 2: Fold the paper in half again
Open the paper, and re-fold the other way. Inside of Card
For a beak or mouth: cut fold
Re-fold card. Put finger inside card to push out pop-up section.
Other Shapes: BoxShape
A Face: mouth nose
There are many occasions that could be celebrated with a card.