Download
1 / 10
110 likes | 255 Views
IAT 208 Drawing as Inquiry. Lab: 2. Exercise: Pencil Holds. In the past few slides, we have examined pencil holding grip styles. In this exercise, we will try the common hand grips while we try the following exercises [15 minutes]

E N D
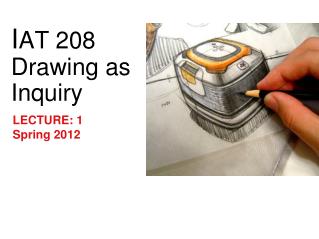
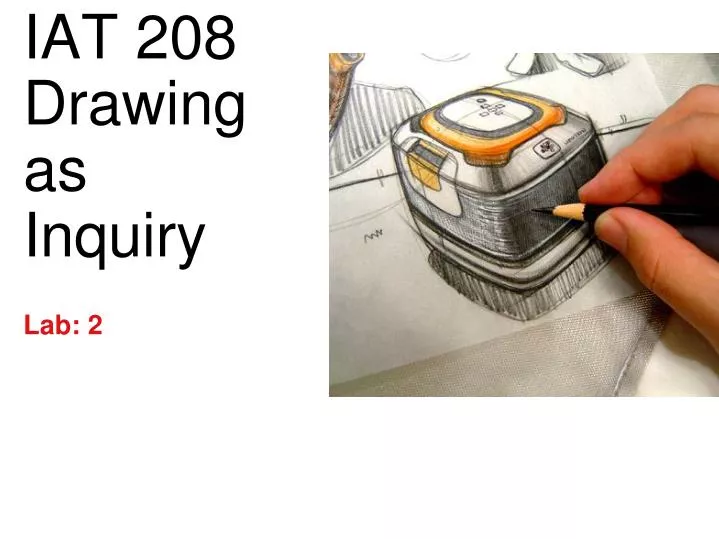
IAT 208 Drawing asInquiry • Lab: 2
Exercise: Pencil Holds • In the past few slides, we have examined pencil holding grip styles. • In this exercise, we will try the common hand grips while we try the following exercises [15 minutes] • Try the various hand grips we described earlier. Feel free to improvise if you find that something works better for you. • Try varying the pressure and grip. For example, light pressure versus light pressure. Tight grip versus loose grip. • Generally, the more pressure you apply, the darker the line. • Share with us your favourite pencil hold!
Strokes: How to Dance with the Pencil • There are different ways of holding a pencil, depending on what type of stroke and lines you want to achieve. • 1. Create Thick, Loose Lines: For thick, loose lines, avoid using the point of the pencil. Instead, grip the pencil with your thumb and fingertip so that the pencil lead lines lie flat against the paper. Your fingertips should be either just above the paper surface or gently resting on it. This may smear your previous pencil lines- so be careful, as your will use your entire arm to draw these wide lines. • 2. Create Thick, Tight Lines: Apply more pressure to the point of the pencil by moving your index finger closer to the tip. Your fingertips may rest on the paper, though it isn’t necessary that they do so to create a successful stroke. (Drawing for the Absolute Beginner, Willenbrink)
Strokes: How to Dance with the Pencil • 3. Create Thin, Controlled Lines: For lines like these, hold the pencil as you would in a handwriting position, wit the pencil resting between your thumb, middle and index fingers. Your hand rests gently on the paper. For very thin lines, the pencil tip needs to come to a sharp point. • 4. Create Long, Arcing Lines: This grip is similar to the handwriting position except you hold the pencil out at length. Use this position to achieve wide, straight, and arced lines. Let your hand gently rest on the paper. (Drawing for the Absolute Beginner, Willenbrink)
Warm-up: Taking a line for a walk • Time: 10-15 minutes • Variations: Paul Klee described drawing as ‘taking a line for a walk’. • Take your pencil for a walk, try the side, tip and different holds for different line qualities. Try having lines go from thick to thin and light to dark. • Practice a few S-shaped figures, which are formed by making two joined but opposing arcs. You will constantly come across shapes like these when drawing still life. (Drawing for the Absolute Beginner, Willenbrink)
Exercise: Creating Form • (5)These scribbled lines and marks can be seen as a human form engaged in a sport. • Of course, they are not really those things, but there are enough clues to prompt our memory to remind us of forms we have seen. • The mind quickly fills in the details when a form is rudimentary. • (Source: Barber, The Complete Book of Drawing. 2008.) • (Image: Barber, The Complete Book of Drawing. 2008.)
Tip: Using a Frisket or Eraser Shield • Using a Frisket: A piece of paper can be used as a frisket to make an even edge for a set of pencil lines. This is also a great technique to use if you want to create a clean margin for your drawing. This method also works well for backgrounds. • Cover the Drawing: Place a piece of scrap of paper (or a large post-it-note). Start the line strokes on the scrap paper and continue onto the drawing paper. • Lift the Frisket: Lift the frisket away. The pencil lines should look as if they start from one invisible line! (Drawing for the Absolute Beginner, Willenbrink)
Exercise: Cross Contour Cross contour of either your hand or the still life set-up.
Exercise: Negative space Negative space of still life set-up.
Exercise: Still life Still life using hatches, cross hatches and blending.