Download
1 / 64
710 likes | 1.33k Views
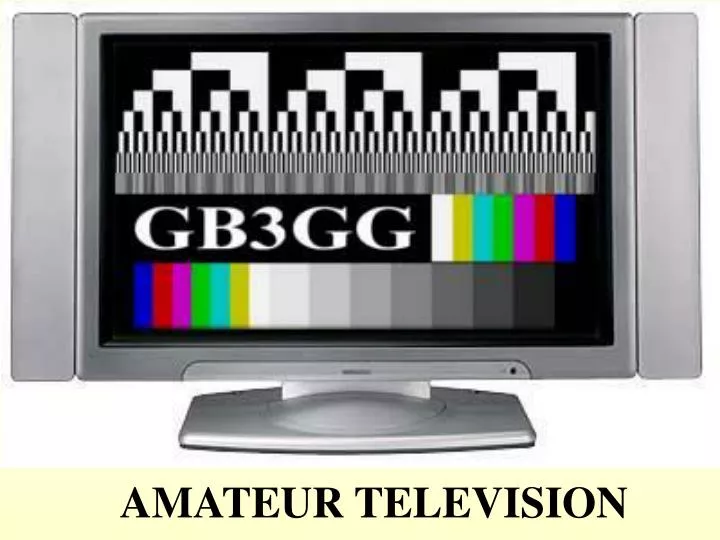
AMATEUR TELEVISION. What is Fast Scan ATV?. Fast scan TV is the transmission of ‘real time’ TV pictures just like you see on your TV set. ATV allows visual QSOs so you can see your contact. ATV Bands and Frequencies. 70cms typically 435 – 436.5 Mhz . Monochrome transmission if using

E N D
What is Fast Scan ATV? Fast scan TV is the transmission of ‘real time’ TV pictures just like you see on your TV set ATV allows visual QSOs so you can see your contact
ATV Bands and Frequencies 70cms typically 435 – 436.5 Mhz Monochrome transmission if using AM modulated carrier Colour permissible if using Vestigial Side-band (VSB) Colour and audio permissible when using digital transmission techniques which are currently under development by various suppliers (based on DVB-T) standards
ATV Bands and Frequencies The 23cms amateur band ranges from 1.240 to 1.325 GHz ATV simplex 1240 – 1260Mhz ATV repeater inputs typically are: 1248, 1249, 1255 and 1280Mhz Repeater outputs range from 1308 – 1318Mhz Full colour video and audio using either AM or FM Modulation Nationwide network of ATV repeaters
ATV Bands and Frequencies The 13cms Amateur band ranges from 2.310Ghz to 2.450Ghz 2.322 to 2.355Ghz & 2.370 to 2.390GHz ATV Simplex operation and ATV repeater inputs Repeater outputs on 2.435, 2.440 and recently Being allocated to 2.420Ghz Full colour video and audio using either AM or FM Modulation Nationwide network of ATV repeaters
ATV Bands and Frequencies The 10Ghz amateur band ranges from 10.000 to 10.500GHz ATV Repeater outputs typically 10.065 & 10.240 ATV Repeater inputs 10.315, 10.340 & 10.425Ghz ATV Simplex operation typically between 10.225 to 10.250, from 10.350 to 10.368 and 10.412 to 10.437 Full colour video and audio using either AM or FM Modulation Nationwide network of ATV repeaters
How much does it cost?Tx and Rx 70cm – As little as £10 23cm – About £150 13cm – About £150 10Ghz – About £50
Video sources Most people own a video camera and they can be utilised readily for ATV use. When in camera mode, most output a video & audio signal on the AV output socket. Their sensitive microphones provide excellent audio from anywhere in the shack
Video sources Modern digital video cameras often have video out for viewing photos on your TV set and provide a ready video source for ATV use. The memory cards can also Be loaded with test-cards made on a PC using MS paint or Paint Shop Pro etc and displayed using your digital camera via the video output.
Video sources CCTV cameras are available for a very modest price, some as low as £20 new for a colour camera They are ideal for permanent installation into the shack and many ‘budget’ cameras are supplied with a wide angle 3.6mm lens which is ideal for shack views
Video sources Digital photo viewers allow for cheap and easy test-card generation. They are available from £29 and accept most types of digital camera memory cards. Test-cards can be downloaded from the internet ready to use.
Video sources Don’t throw out that old computer! A BBC, Spectrum, or Amiga amongst others are great for Test-cards… A PC fitted with a video card with TV out can provide a great video source. Live video from your webcam, photos, AVI video files etc.
Operating & ‘P’ reports ATV calling and talkback frequency is: ATV signal reports are given using the ‘P’ grade which ranges from 0 to 5 Example… 144.750Mhz
P0 – Trace of a picture barely visible extreme noise and often unstable
P1 Picture visible but very noisyOnly larger objects can be seen
P2 More picture detail visible but noisy with weak and unstable colour content
P3 Good picture detail with small items visible, good colour but still noisy
70Cms 70cms ATV can be received using an up-converter such as the Microwave Modules or Fortop converters between your 70cm antenna and television receiver
70Cms Some TVs and video recorders also tune down well below 430Mhz especially older models Also, all analogue cable TV boxes
70cms Suitability can be checked by using a low power transmitter on 435Mhz Tune the receiver to BBC1 and carefully tune down lower If you receive a blank picture stop transmitting. If the TV displays static when not transmitting and a blank screen when the transmitter is on you should be able to receive ATV
70Cms Transmitting ATV can be achieved by using a ready built transmitter such as the MTV435 by Microwave Modules These can often be found on Ebay for about £40
70Cms Mini-kits in Australia currently produce a transmitter kit for about £35
70cm Modulators A quick and cost effective way to get onto 70cm ATV is by using a modulator An old radio can be easily be modified If done correctly, the radio can still be used for standard voice operation
Points A&B are the video input Example of a Simple modulator E is the modulated supply to the collector of the PA final transistor Closing the switch (SW1) allows the radio to function as normal C&D is the +v supply and common
Complete 23cm Transceiver LCD Controller Transmitter & Receiver G6ALU 20W Power Amplifier kit
‘Junk box’ antenna for 23cm Parts Required: The XYLs best flan dish 30cm diameter
‘Junk box’ antenna for 23cm Parts Required: A Plastic Conduit Box
‘Junk box’ antenna for 23cm Parts Required: Some 2.5mm diameter copper wire A short length of RG213 or better A plastic cable gland to suit coax
Strip a length of wire 48cms long and bend 90º in centre Bend again 90º as shown And again to produce the double quad as shown below Each side of the quad should measure 6cm
Drill a hole in the centre of thedish and conduit box to fit the gland.Strip 5mm on the end of the coax as shown and tin the braid and centre core
Next, fit the conduit box onto dish with the cable gland entry at the rear of the dish. Insert the coax through the gland from the rear. Solder the element to the coax with the centre bend of the element to the centre and the open ends to the braid. The element should be 3cm from the dish
Use a soldering iron to heat the wire to melt the box while pressing down on the element to fix into position
Use hot-melt glue gun to seal the connections and then fit the lid to the conduit box…VSWR should be < 1.3:1Adjustment is made by adjusting the distance of the quad element from the back plane Gain is approximately 11 – 12dBi (8.5 – 9.5dBd)
23cm RX from the ‘Junk Box’ An old analogue satellite receiver can be used to receive 23cm ATV. Simply connect the 23cm antenna to the LNB input. If there is no preamplifier in line, the DC LNB voltage must be disabled first of use a DC blocking capacitor in series with the coax centre conductor.
Complete 13cm Transceiver LCD Controller Transmitter & Receiver Spectrian 30W Power Amplifier
A ‘Junk-box’ Antenna for 13cm Bi-quad antennas are easy to build and make a very simple and cost-effective antenna for local working 13cm ATV and for receiving GB3GG
Construction Cut a piece of copper clad board 123mm x 123mm Next cut a piece of ½ inch copper pipe 50mm long Cut a 2mm notch half way down the pipe as shown and file square
Insert the pipe through the board so the notched end is 16mm as measured from the copper side of the board Drill a hole in the centre of the board and use a reamer to make exact fit to the pipe Solder the pipe to the board ensuring a good electrical connection and physical rigidity