Download
1 / 5
110 likes | 546 Views
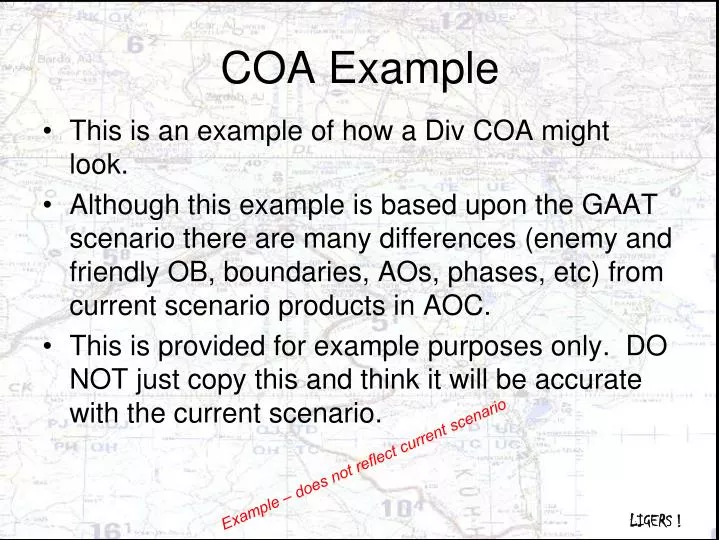
COA Example. This is an example of how a Div COA might look. Although this example is based upon the GAAT scenario there are many differences (enemy and friendly OB, boundaries, AOs, phases, etc) from current scenario products in AOC.

E N D
COA Example • This is an example of how a Div COA might look. • Although this example is based upon the GAAT scenario there are many differences (enemy and friendly OB, boundaries, AOs, phases, etc) from current scenario products in AOC. • This is provided for example purposes only. DO NOT just copy this and think it will be accurate with the current scenario. Example – does not reflect current scenario LIGERS !
RP XX X X X X X X 84 84 84 88 18 1-4 X X X PL WHITE X X 16 (UK) 1-3 64 64 64 X X X X 88 64 88 88 X X X X D 18 84 18 18 MSR X-Ray PL BLACK KURA RVR DSA MAIN 4 XX X 17 (TU) PL RED XX X E X EA MIKO PL WHITE PL ORANGE X EA TERA E X 1-10 X PL BLACK E MSR Yankee EA JENNA s PL RED OBJ CLOVER Axis LIGER ARAKS RVR PL BLUE PL ORANGE Example – does not reflect current scenario OBJ IVY O/O LOA PL Victory PL GREEN NAI 14 OBJ FINAL PH III – Offensive Operations Course of Action Sketch PL GREEN LIGERS !
X X 1-4 1-3 E X 16 (UK) E X 17 (TU) Concept of Operations – PH III 1-4 BCT (Decisive Operation) • T: Destroy 2 BDEs of the 18th DTG in OBJ IVY • P: Eliminate AH offensive capability 1-3 BCT (Shaping Operation) • T: Initially Division Reserve, attack to destroy 64 and 84 DTG HQs in OBJ Clover • P: Protect DO northern flank 1-10 BCT (Shaping Operation) • T: Seize River crossing sites; designate 1 BN as Division Reserve • P: Facilitate the Division attack 16 (UK) (Shaping Operation) • T: Fix lead BDEs of the 64 DTG • P: Prevent 64 DTG from CATK against DO 17 (TU) (Shaping Operation) • T: Fix lead BDEs of the 84 DTG • P: Prevent 84 DTG from CATK against DO X 1-10 E Example – does not reflect current scenario LIGERS !
RP XX X X X X X 1-10 84 18 88 84 X(-) X(-) PL WHITE X X 16 (UK) 1-3 64 64 X XX 88 OBJ CHARLIE X 1-4 E MSR X-Ray PL BLACK KURA RVR DSA MAIN 4 XX X 17 (TU) PL RED X PL WHITE E E X PL BLACK MSR Yankee X PL RED ARAKS RVR X Example – does not reflect current scenario Zone of Separation O/O LOA PL Victory X X PL GREEN OBJ FINAL PL GREEN PH IV – Border Restoration Operations Course of Action Sketch LIGERS ! PL PURPLE LOA
X 1-3 X 16 (UK) E X 17 (TU) Concept of Operations – PH IV Example – does not reflect current scenario X 1-4 BCT (Shaping Operation) • T: Clear in zone and destroy remaining AH Forces • P: Eliminate AH forces and neutralize SAPA activities, ZOS established 1-3 BCT (Shaping Operation) • T: Clear in zone and destroy remaining AH Forces • P: Eliminate AH forces and neutralize SAPA activities, ZOS established 1-10 BCT (Shaping Operation) • T: Clear in zone and destroy remaining AH Forces and secure LOCS • P: Eliminate AH forces and neutralize SAPA activities 16 (UK) (Decisive) • T: Conduct Air Assault and seize objective final • P: Eliminate AH forces, neutralize SAPA activities, ZOS established 17 (TU) (Shaping Operation) • T: Defend along Kura River to Block AH forces in sector • P: Prevent AH Forces from moving west 1-4 E X 1-10 E LIGERS !