Download
1 / 14
140 likes | 152 Views
CO 2 vs. Plant Density Lab. Ms. Shahid Living Environment. Do Now (5 mins) - Turn and Talk!. Write down your partner’s responses to the following questions. Be ready to share what they said!

E N D
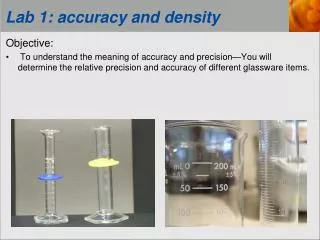
CO2 vs. Plant Density Lab Ms. Shahid Living Environment
Do Now (5 mins) - Turn and Talk! Write down your partner’s responses to the following questions. Be ready to share what they said! • Based on your knowledge of photosynthesis, what changes would a highly photosynthesizing plant cause to its environment? (Try to recall the formula) • Do you think the air in Central Park would have the same composition/properties as the air by FDR Drive? Explain your reasoning. • Bonus! The atmospheric CO2 concentration is predicted to double within our lifetime. How do you think this will impact the distribution of plant species throughout the world?
Agenda Day one • Do Now • Introduction to lab • Lab design in groups Day two • Do Now • Introduction to devices used • Setup of lab apparatus
Objective of Lab: Design a lab to look at how CO2 levels change with varying plant densities Groups of 4 • Four weeks - first two weeks → measure CO2 with no plants • First day of week 3 -- transfer your plant of choice • You design the rest of the lab in your groups! (30 min) • Use the provided template • Make sure I initial your checkboxes in each section before you move on • Make sure you identify as many constants as possible (Why?) • Identify your independent variable: What species of plant? size? number? (research as needed)
Do Now - Take out lab notebooks and discuss: Discuss and jot down notes (5 min) Explain what variables are being changed in your experiment, and your reasoning. What do you expect to happen due to the independent variable you chose?
Introduction of Device Used (not sure what goes here yet) If Arduino, show how the sensor works with a video and demo Same for Vernier, but need to show how to insert parts into tank Show how to set up apparatus using a student to model
Set up lab apparatus (10-15 min) • Keep in mind that you will have a plant in there in 2 weeks! Think about what it will need and note these in your lab notebook • You will be monitoring your experiment once a week. What are you going to take note of?
Record changes in your experiment! (5 mins) - In lab notebooks, every Friday • Date of your observations (how many days has it been? • Look at your notes from last time -- what are you taking note of? • Make sure that all group members are taking their own notes, while also discussing each other’s points and adding on.
Gallery Walk (20 min) Group Discuss (5 min) • Post up your lab experimental data • Compare your findings • In your lab notebooks - take note of other groups’ experiments and how their setup and results were similar to or different from your group. • Discuss as a group your findings and decide which group’s results you found to be the most “interesting”. Be ready to share to the whole class at the end of the five minutes.
Extensions to your experiment? HW • Think about other factors that may be tested for as we did in this experiment • Think about the equipment we used