Download
1 / 15
190 likes | 544 Views
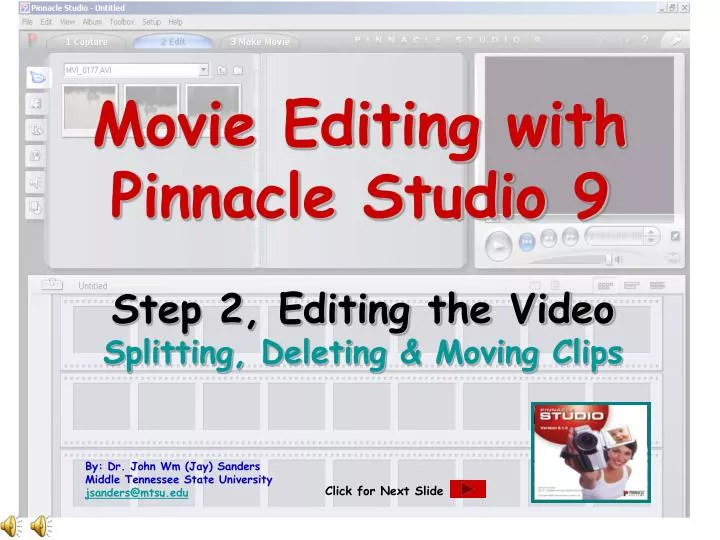
Movie Editing with Pinnacle Studio 9 Step 2, Editing the Video Splitting, Deleting & Moving Clips By: Dr. John Wm (Jay) Sanders Middle Tennessee State University jsanders@mtsu.edu Click for Next Slide “Unedited” Movie clips…… Available for this project MVI_192 MVI_187 MVI_188 MVI_180

E N D
Movie Editing with Pinnacle Studio 9 Step 2, Editing the VideoSplitting, Deleting & Moving Clips By: Dr. John Wm (Jay) Sanders Middle Tennessee State Universityjsanders@mtsu.edu Click for Next Slide
“Unedited” Movie clips…… Available for this project MVI_192 MVI_187 MVI_188 MVI_180 MVI_191 MVI_189 MVI_190 MVI_193 MVI_194 MVI_186 These clips are of my home office & reflect the fact that almost every movie clip will have to be re-shot and/or edited Right-Click on the “number” to view &/or save the Video Clip Click for Next Slide
Once the Transfer is completed……… To edit the movie, you will open the project using the “Edit” Tab Click the yellow folder to locate the AVI-files Locate a file & click on it Click [Open] Click for Next Slide
To proceed with the editing: Drag & drop the Video Clips to the ………Storyboard drag/drop <-Storyboard-> Click for Next Slide You can drag all of the clips now, or later
Save file before you proceed…. To “save” your project: Click: [File] [Save Project As...] It suggests saving to “My Projects”… Type a “file name” [Save] Click for Next Slide
Choosing the Editing Tools Click 1 of the following: Show Videos (Edit clips) Show Transitions (select & insert transitions) Show Titles (Create on-page title or title page) Show Photos & frame grabs (insert) Show Audio Files (insert) Show Menus (insert DVD menus) Click for Next Slide We will work with the “Show Videos” tool first………..
Using the EditTool To edit the movie, be sure the “Edit” Tab is hi-lighted & all of your video clips have been moved to the storyboard drag/drop Story board> Now, we are ready to see how to: run, stop, run faster, run frame-by-frame, & how to split the video clip Click for Next Slide
Controlling the Video Clip…….. The Controls Fast Forward Fast Reverse Move Forward by Frame Go to beginning (Home) Slider Button to move rapidly forward or back thru clip Move Backward by Frame Click for Next Slide Start Button < Text view Clip Tool (cuts clip in 2) Story board view Time line view
Viewing the Video Clip…….. Clip will run here Click on the Clip you want to Preview Click “Stop to halt the Video Click “Play to run the Video Click for Next Slide
Use “frame-by frame” (up or down) to precisely locate the cut: To use “frame-by frame”click the up or down arrow & it will move 1 frame at a time Other ways to locate where you want to make the cut:Start, Stop, Slider, Fast-Reverse,Fast-Forward The frame-by-frame arrows are the most accurate in reaching the exact location for the “cut” (19:14 seconds for this example) Click for Next Slide
Splitting the Video Clip@ 19:14 seconds Now, use the “Split Tool” (razor blade) to cut the video clip in 2 separate clips. Click the “Split Tool” The next slide will show how to delete clips you do not want in your movie Click for Next Slide
Clips 1 & 2 are hi-lighted to show which clips were split. After Split We are ready to delete unwanted clip #2 To delete the unwanted clip #2: [Right-Click] on the clip & then Click [Delete] Click for Next Slide
With the Clip deleted the remaining Storyboard looks like this…… The cursor is between Clips 1 & new Clip 2 Note the length of clip 2 is 36.16 seconds Click for Next Slide
To move a Video Clip Click/hold on the Clip & drag/drop at the new location . The clip will be pasted to the left of the greenline . drag/drop> Clip 2 will move to right & clip 3 will move to the left . Click for Next Slide
To continue ……..Click to return to Movie Editing Webpage andClick on“Inserting Transitions & Titles” Slideshow