Download
1 / 11
110 likes | 280 Views
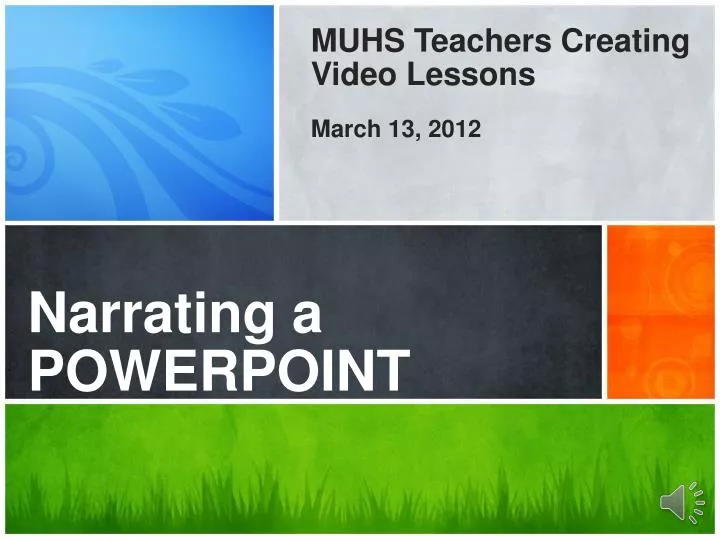
MUHS Teachers Creating Video Lessons March 13, 2012. Narrating a POWERPOINT. Your words & voice!. Narrating Your Presentation. 3. 1. 2. Students can run your slideshow or you can “Save as” a movie file. Open or create a slideshow of your choice. “Record SlideShow ” and save.

E N D
MUHS Teachers Creating Video Lessons March 13, 2012 Narrating a POWERPOINT Your words & voice!
Narrating Your Presentation 3 1 2 Students can run your slideshow or you can “Save as” a movie file Open or create a slideshow of your choice “Record SlideShow” and save Access your file as a .pptx slideshow via the web or as .wmv movie file
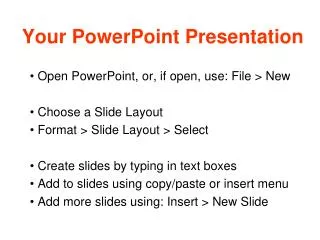
1 Open or create a Slideshow Nothing new here – you know how to do this!
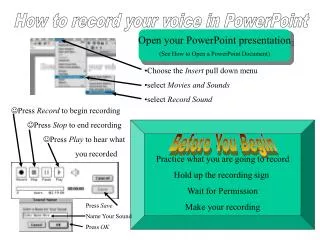
2 Narrate Your Slideshow Click on “Record SlideShow” from the “Slideshow” Tab on the ribbon
Here is the Slideshow Tab and the “Record Slideshow” button Record Slide Show button.Hold down the control key and your curser will turn into a red-circle laser pointer while you speak. Your file will start running when you hit the
Why not add your voice to your students’ homework time? Students can run your narrated slideshow over the web just as they have been doing in the past. Or you have another option...
3 Save Your File as a .wmv movie file.This will run your narrated slideshow in real time while it is creating your movie file so allow enough time for this process. Once it’s a movie file you can post it to YouTube or link the file from your website or upload it to the Faculty Portal.
BROADCAST IT • A narrated slideshow becomes an opportunity to Show and Tell your presentation • Share your presentation in real-time with anyone with a browser, directly from PowerPoint. • You’ll never have to say, “Next slide, please” again!
Let Your Presentation SPEAK FOR ITSELF 1. Create/open your slideshow 2. Record your narration 3. Save as a .wmv movie file if you wish 4. Upload to the MUHS faculty portal or to YouTube, or link to your class website
? Jean Morrellwill demonstrate this feature at our 3/13 video meeting.Ask Jean or Carol or many others who have already used this feature if you want more help. This is a very easy way to create a video lesson. Try it!
MUHS Teachers Creating Video Lessons March 13, 2012 Narrating a POWERPOINT What’s Your Message?