Download
1 / 84
840 likes | 958 Views
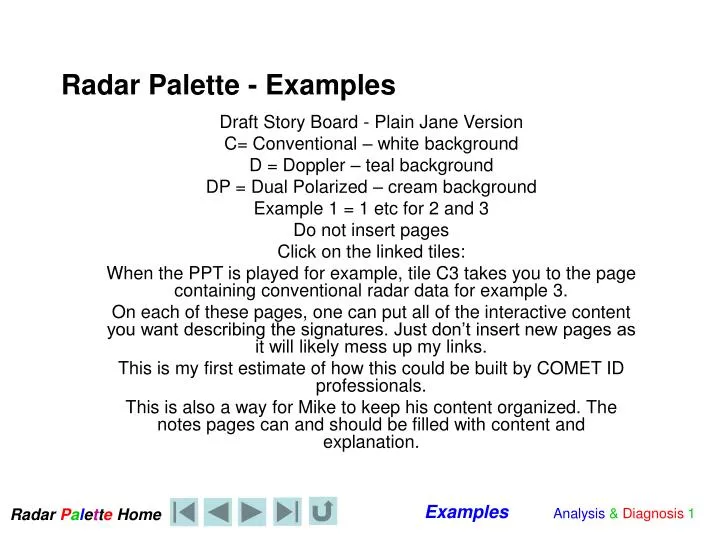
Radar Palette - Examples. Draft Story Board - Plain Jane Version C= Conventional – white background D = Doppler – teal background DP = Dual Polarized – cream background Example 1 = 1 etc for 2 and 3 Do not insert pages Click on the linked tiles:

E N D
Radar Palette - Examples Draft Story Board - Plain Jane Version C= Conventional – white background D = Doppler – teal background DP = Dual Polarized – cream background Example 1 = 1 etc for 2 and 3 Do not insert pages Click on the linked tiles: When the PPT is played for example, tile C3 takes you to the page containing conventional radar data for example 3. On each of these pages, one can put all of the interactive content you want describing the signatures. Just don’t insert new pages as it will likely mess up my links. This is my first estimate of how this could be built by COMET ID professionals. This is also a way for Mike to keep his content organized. The notes pages can and should be filled with content and explanation.
DP 1 DP 1 D 1 D 1 C 1 C 1 DP 2 DP 2 D 2 D 2 C 2 C 2 C 1 C 1 C 1 C 1 C 1 DP 3 DP 3 D 3 D 3 C 3 C 3 D 1 D 1 D 1 D 1 D 1 DP 1 DP 1 DP 1 DP 1 DP 1 C 2 C 2 C 2 C 2 C 2 D 2 D 2 D 2 D 2 D 2 DP 2 DP 2 DP 2 DP 2 DP 2 C 3 C 3 C 3 C 3 C 3 D 3 D 3 D 3 D 3 D 3 DP 3 DP 3 DP 3 DP 3 DP 3 C 1 D 1 C 2 DP 1 D 2 C 3 DP 2 D 3 DP 3 C 3 C 2 C 1 D3 D 2 D 1 DP 3 DP 2 DP 1
B A Pre Warm Frontal – Ahead of WCB Ex 1 C • Cross section shows large amount of precipitation aloft down to 2-3 km AGL (virga) more than 350 km ahead of precipitation shown by 1.5 CAPPI. Click. • The surface temperatures are above freezing so this will be rain when it finally reaches the ground. • Click to see the same cross-section 2 hours later. 1.5km CAPPI Surface Isobaric Pattern 1.5km CAPPI Virga Virga
Pre Warm Frontal – Ahead of WCB Ex 1 D • Doppler 3.5 degree shows considerable veering of the winds aloft from A to B to the northwest of the radar indicative of a strongly katabatic warm front. We can’t see the lower levels because of course there is no precipitation. • Any 3.5 degree scan will show the “Virga Hole” where there is no precipitation at the lowest levels. This hole occurs at the shortest range rings near the radar. B F A The Virga Hole C E D
Pre Warm Frontal – Ahead of WCB Ex 1 DP
Pre Warm Frontal – Ahead of WCB Ex 2 DP
Pre Warm Frontal – Ahead of WCB Ex 3 DP
Pre Warm Frontal – Under WCB Ex 1 C
Pre Warm Frontal – Under WCB Ex 1 D
Pre Warm Frontal – Under WCB Ex 1 DP
Pre Warm Frontal – Under WCB Ex 2 C
Pre Warm Frontal – Under WCB Ex 2 D
Pre Warm Frontal – Under WCB Ex 2 DP
Pre Warm Frontal – Under WCB Ex 3 C
Pre Warm Frontal – Under WCB Ex 3 D
Pre Warm Frontal – Under WCB Ex 3 DP
Pre Warm Frontal – Behind WCB Ex 1 DP
Pre Warm Frontal – Behind WCB Ex 2 DP
Pre Warm Frontal – Behind WCB Ex 3 DP
Warm Sector – Ahead of WCB Ex 1 C
Warm Sector – Ahead of WCB Ex 1 D
Warm Sector – Ahead of WCB Ex 1 DP
Warm Sector – Ahead of WCB Ex 2 C
Warm Sector – Ahead of WCB Ex 2 D
Warm Sector – Ahead of WCB Ex 2 DP
Warm Sector – Ahead of WCB Ex 3 C
Warm Sector – Ahead of WCB Ex 3 D
Warm Sector – Ahead of WCB Ex 3 DP
Warm Sector – Under WCB Ex 1 C
Warm Sector – Under WCB Ex 1 D
Warm Sector – Under WCB Ex 1 DP
Warm Sector – Under WCB Ex 2 C
Warm Sector – Under WCB Ex 2 D
Warm Sector – Under WCB Ex 2 DP
Warm Sector – Under WCB Ex 3 C
Warm Sector – Under WCB Ex 3 D
Warm Sector – Under WCB Ex 3 DP
Warm Sector – Behind WCB Ex 1 C
Warm Sector – Behind WCB Ex 1 D
Warm Sector – Behind WCB Ex 1 DP