Download
1 / 8

E N D
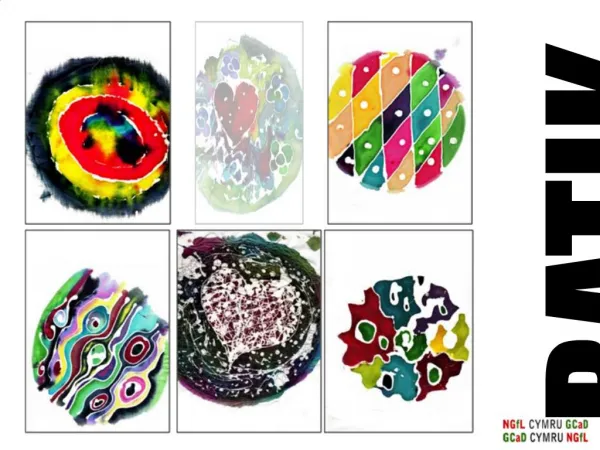
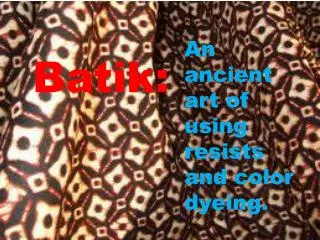
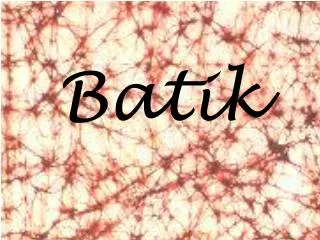
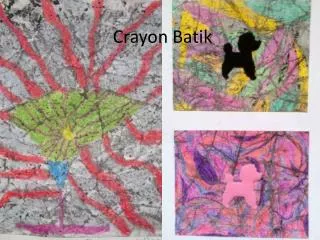
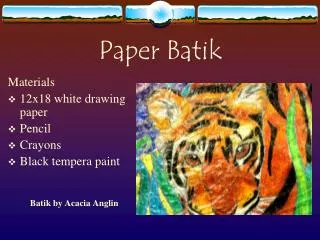
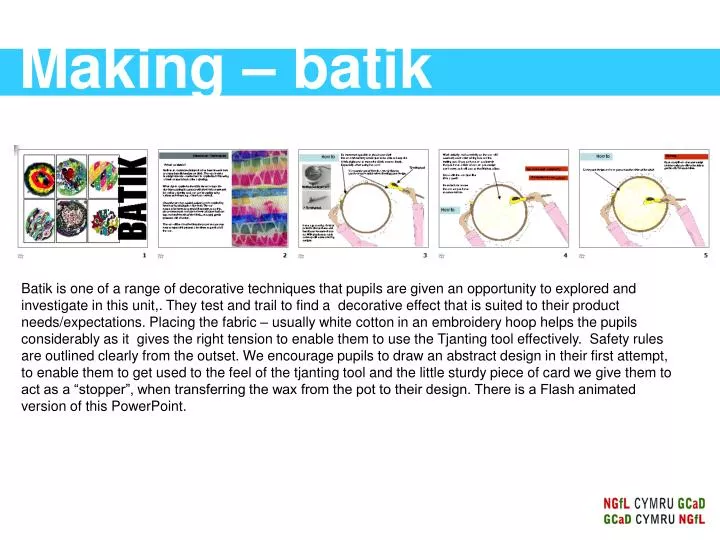
Making – batik Batik is one of a range of decorative techniques that pupils are given an opportunity to explored and investigate in this unit,. They test and trail to find a decorative effect that is suited to their product needs/expectations. Placing the fabric – usually white cotton in an embroidery hoop helps the pupils considerably as it gives the right tension to enable them to use the Tjanting tool effectively. Safety rules are outlined clearly from the outset. We encourage pupils to draw an abstract design in their first attempt, to enable them to get used to the feel of the tjanting tool and the little sturdy piece of card we give them to act as a “stopper”, when transferring the wax from the pot to their design. There is a Flash animated version of this PowerPoint.
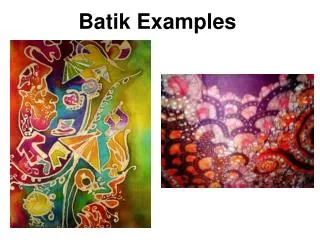
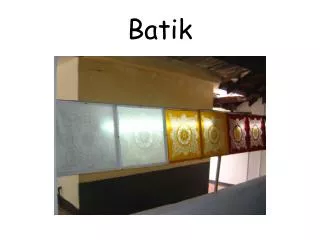
Making – batik Pupils need to be aware that the designs that are drawn using the tjanting tools need to hold “pools” of batik inks – this is a key concept to convey or all the colours will merge together. Colour is “king” and a poor design can look very effective, if it is coloured with care or imagination. We have only used batik inks to date – they look effective especially the jewel like colours. Another aspect to introduce is that the dyes need to be diluted and pupils can change the intensity of the colours. The concentrated dyes are very messy and stain your hands – so the initial dilution is done by an adult, preferably wearing rubber gloves. One problem we persistently have is that, the yellow ink is spoiled by pupils not clearing their brushes thoroughly enough. One way we have tried to date, is to have separate yellow brushes and a separate pot of water for cleaning the yellow brushes. Once the designs are finished they are left to dry in a warm place if possible in the embroidery hoops.
Making – batik Removing the wax is fairly straight forward – newspaper as the sheet immediately next to the fabric is best avoided as it often leaves an imprint on the design. Health & Saftey issue with hot iron – Slide 11. The designs are used in a number of ways – pupils achieve very effective results by free machine embroidery the batik designs, see slide 13, adding further colour and texture to the design. The batik design can cut up and appliqued onto the fabric of the cushion, or the batik design also look very effective cut in more complex designs using the laser cutter.
Making – cutwork Pupils really enjoy this technique. It is a good way of creating a new fabric from old or unwanted fabric scraps. As the PowerPoint presentation outlines, a background cloth is placed inside a embroidery hoop. Fabric for the decorative aspects should be selected with care ensuring that the colour work together and that they are not thick and bulky as this will cause problems with the free machine embroidery. The fabric pieces can be cut into small random shapes or they can be specific shapes e.g. squares but this usually takes a longer amount of time. Akin to the batik process pupils usually achieve a better effect if they attempt an abstract design on their first attempt. A “sheer” or organza fabric is placed to hold the fabric pieces – this can be a little fiddly for some pupils.
Making – cutwork Pupils are given clear instruction how to free machine embroidery, clear outlining of health and safety aspects – Slides 6 & 7. One aspect to stress is that the embroidery hoop should be moved smoothly & slowly to achieve small fluid stitches. Most pupils achieve good results with this techniques with a bit of practice. A number of colours can be added to stitch down the fabrics, again colour co-ordination is important and pupils can overstitch the designs. The finished design can be used in a number of ways, cut into a selected shape e.g. a flower and appliqued, cut up into a design and appliqued individually on to the cushion. We have trialled cutwork on the laser cutter but as it contain a number of uneven layers of fabric it can be a little slow to cut the designs and requires a number of runs to cut all way through.
Making – bondaweb This techniques works effectively but has the draw back of not being washable. It is quick and pupils can get, very quirky effects with ease. Fabric paint is applied to the Bondaweb and it is left to dry. Care needs to be taken with colour combinations, and simpler colour schemes work better. The Bondaweb can be used in a number of ways – applied directly onto the fabric to give an effect or used as background colour for a further design . It can also be used to trap threads or small pieces of fabric, sequins etc. Health and safety issues with a hot iron Slide 8&9. One aspect that must be clarified to pupils is that they MUST use silicon paper between the Bondaweb and iron – or you will be faced with ruined irons and no designs.
Making – CAD embriodery Pupils are encouraged to express their individuality and design an unique or innovative design. Class discussion centred on what is meant by an original design or an innovative logo design, possible issues related to copy right. Slide 3 - discussed aspects such as maximum size, need for all design in black and “what the scanner see” is what it embroiders. Others aspects considered is the complexity of the design and pupils are asked to select which design are/are not suitable for hand scanning.Outlined on slide 4 is some do’s and don’t of printing out the final logos. They are related to logos at the edge of a page as a resulting line is picked up by the scanner and hence embroidered. Pupils are asked to include two duplicate logo designs on a sheet - one slightly smaller, as sometimes the printed design is too big to scan. If this happens, it avoids wasting time to reprint the logo design. The printed logos can be used in their booklet, one in the product specification, and the other in their final design page. Slide 5 - Pupils are asked to select their most promising design idea and develop it further. They are encouraged to keep developing it until maybe they have pushed it too far - “push a design to destruction” They can always select a design a few stages further back. Annotation is encouraged. Probably like most CAD/CAM embroidery systems there are limitations that need to be considered. These are discussed at the outset with pupils to avoid disappointment later.
Making – CAD embriodery With CAD/CAM embroidery a number of techniques are used or combined together. As a general rule, filled embroidery designs are avoided due to time constraints and many of the design developed use outline stitching only. Outline of designs can be stitched straight on to the cushion fabric and overlapped or contrasting fabric can be place above or below and cutback.