Download
1 / 2
20 likes | 261 Views
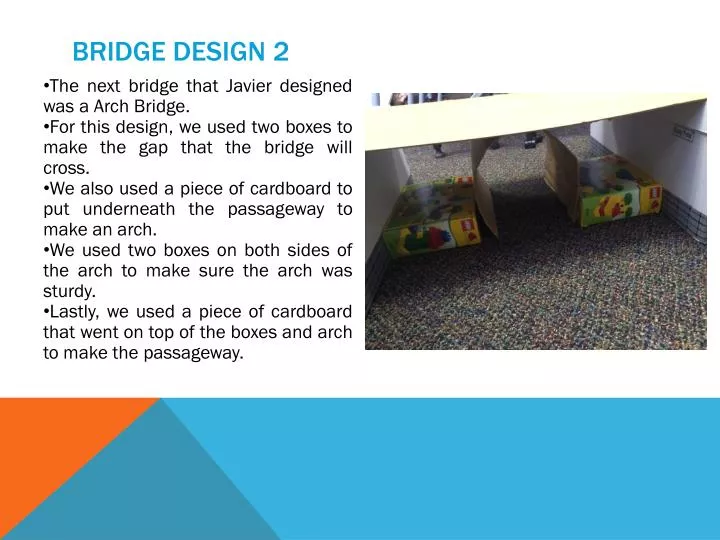
Bridge design 2. The next bridge that Javier designed was a Arch Bridge. For this design, we used two boxes to make the gap that the bridge will cross. We also used a piece of cardboard to put underneath the passageway to make an arch.

E N D
Bridge design 2 • The next bridge that Javier designed was a Arch Bridge. • For this design, we used two boxes to make the gap that the bridge will cross. • We also used a piece of cardboard to put underneath the passageway to make an arch. • We used two boxes on both sides of the arch to make sure the arch was sturdy. • Lastly, we used a piece of cardboard that went on top of the boxes and arch to make the passageway.
Bridge 2 review • After we tested the arch bridge, we noticed that this bridge was a little stronger than the beam bridge. • It began to dip slightly when we added a heavier textbook on to the cardboard.